

LocalWP, formerly known as Local by Flywheel, is a popular local development application that simplifies the process of setting up WordPress sites on your local machine.
It's a great tool for developers, designers, or anyone looking to build or test WordPress websites offline. Here's how to install WordPress using LocalWP:
Step 1: Download and Install LocalWP
Go to the LocalWP website: Open your web browser and navigate to the official LocalWP website at
https://localwp.com/.Download the installer: Click on the download button for the version compatible with your operating system (Windows, macOS, or Linux).
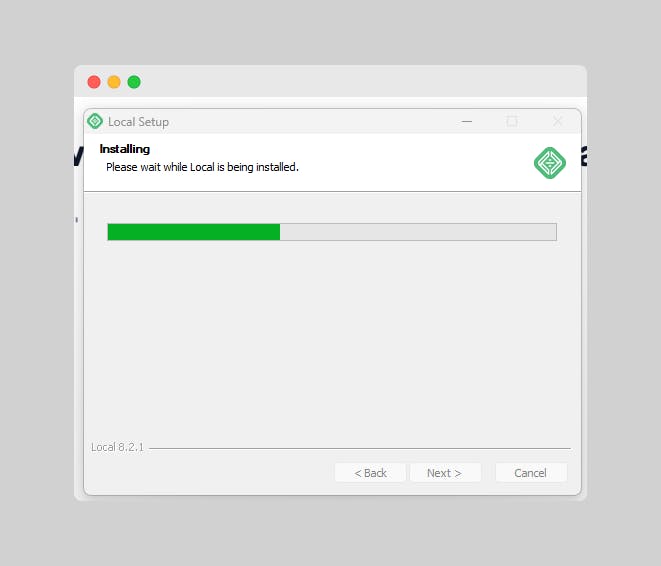
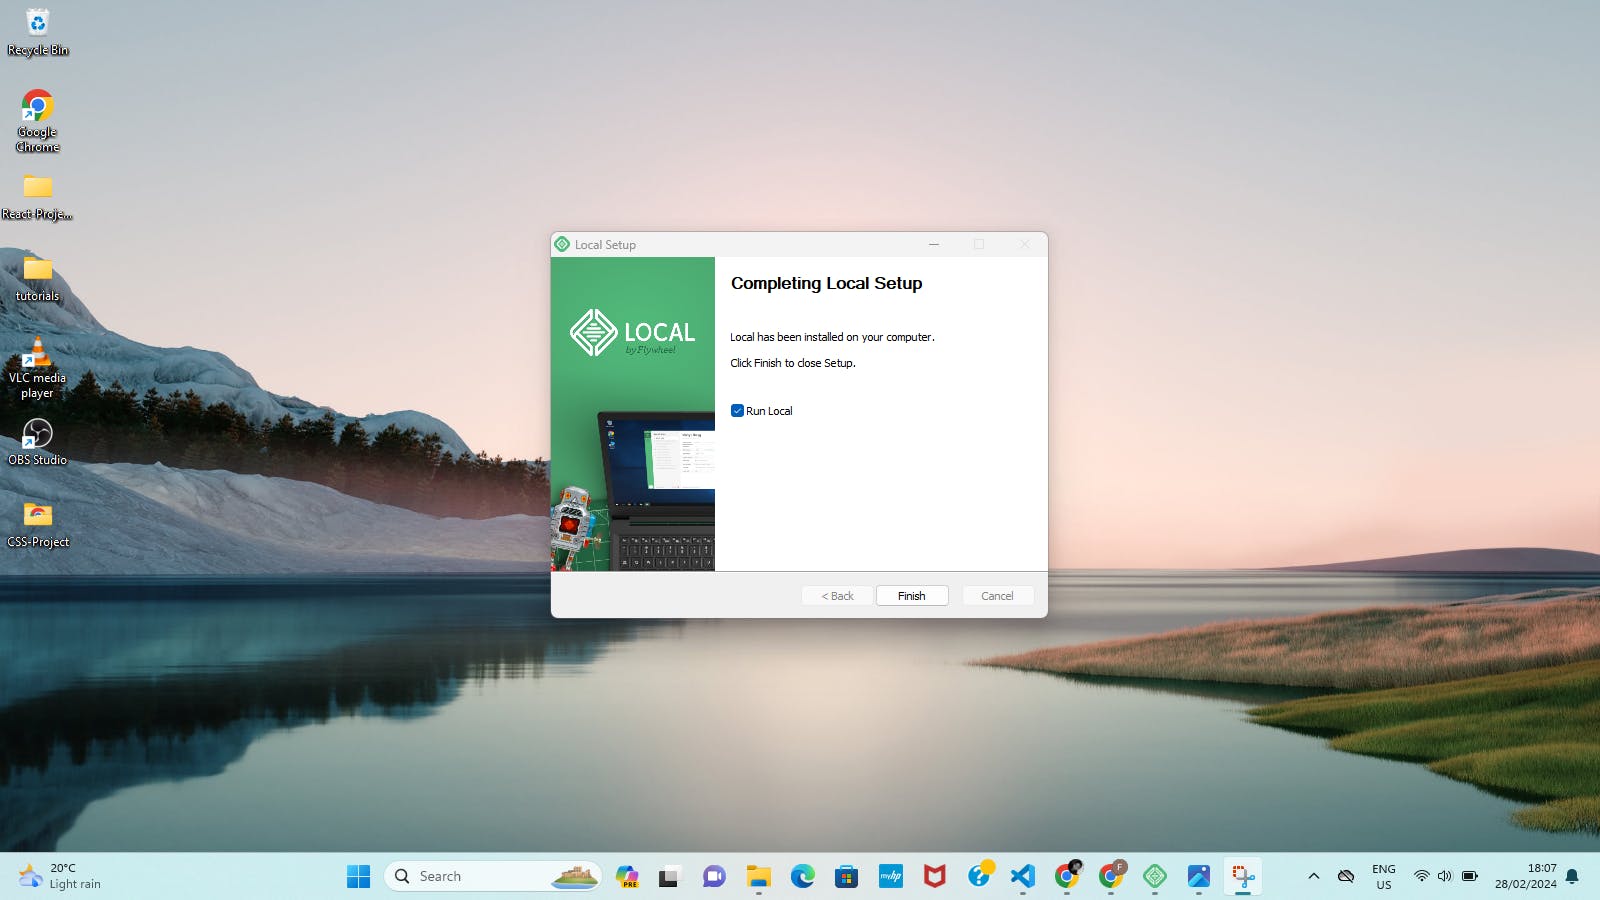
Install the application: Once the download is complete, open the installer and follow the on-screen instructions to install LocalWP on your computer.
This typically involves agreeing to the terms, selecting an installation directory, and completing the installation process.
Step 2: Open LocalWP and Create a New Site
Launch LocalWP: Open the LocalWP application you just installed.
Create a new WordPress site: Click the ‘Create a New Site’ button. This will start the process of setting up a new WordPress installation.

Step 3: Set Up Your Local Site
a. Name your site: Enter a name for your local site. This name will be used to identify the site within LocalWP and will also be part of the local site's URL.

- Choose environment: LocalWP may prompt you to choose an environment. You can select the 'Preferred' environment, which is a pre-configured setting, or 'Custom' if you want to customize the PHP version, web server, and database.

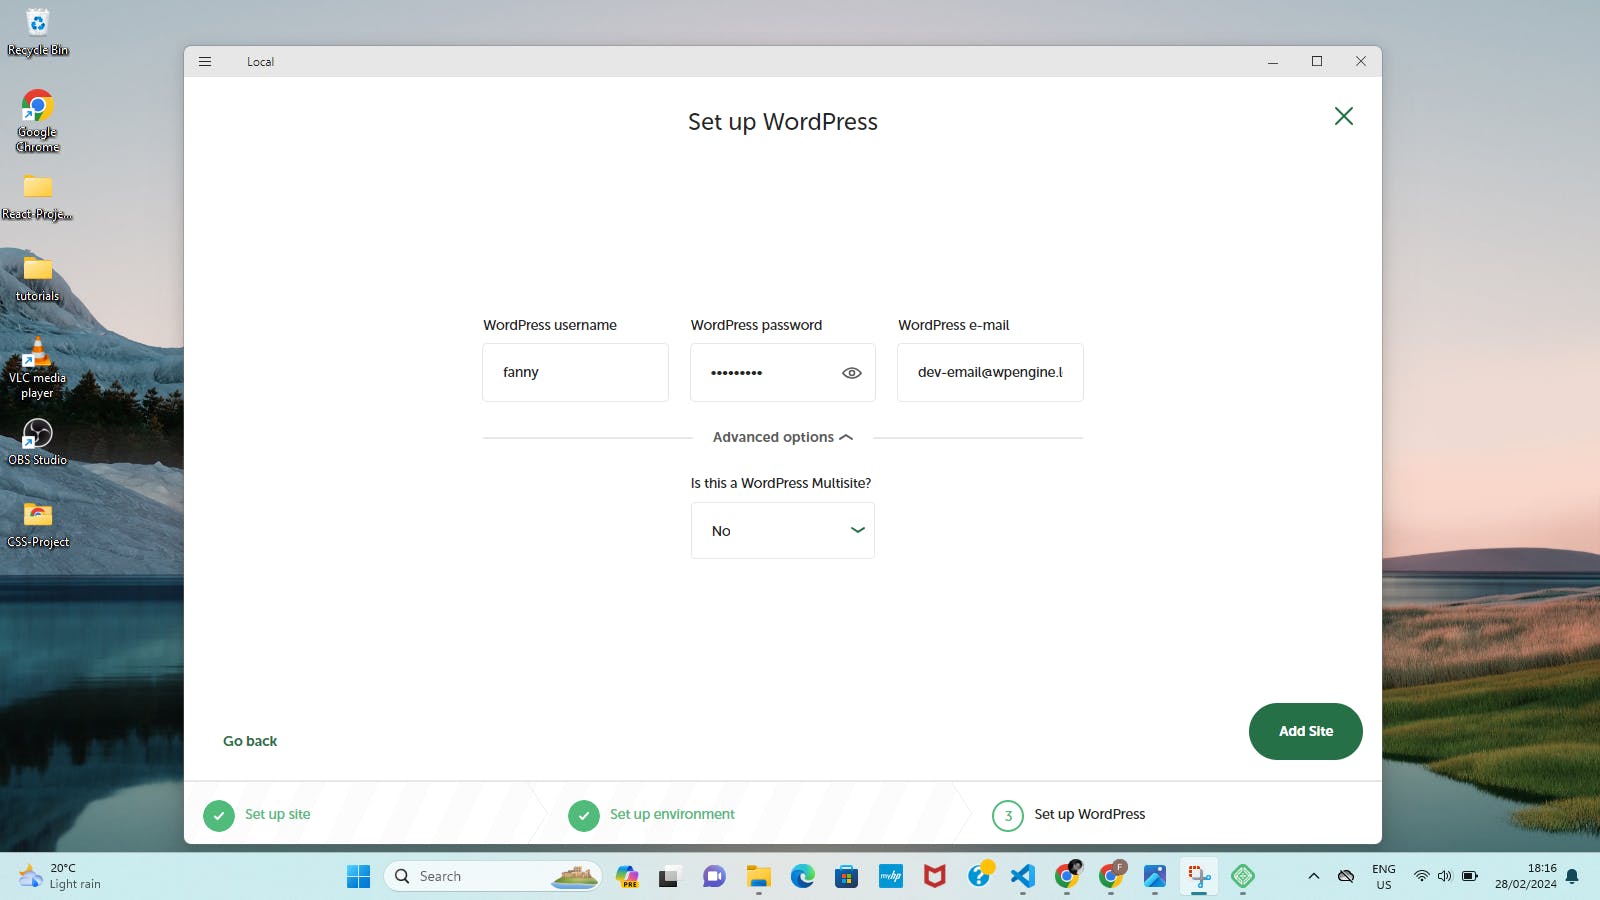
- WordPress setup: Enter the admin email, username, and password that you will use to log into your WordPress dashboard. You can also set the title of your WordPress site here.
- Advanced options (optional): Here, you can configure the local domain, site path, and other advanced settings. For most users, the default settings will suffice.
Step 4: Add Site Details and Install WordPress
- Review your site details: Check the details you've entered. Make sure everything is correct as you'll use these details to log into your WordPress dashboard.

- Install WordPress: Click on the ‘Add Site’ button. LocalWP will now create a new WordPress site with the details you provided. This includes setting up the web server, database, and WordPress files. The process may take a few minutes to complete.
Step 5: Access Your Local WordPress Site
Wait for installation: LocalWP will provision the site environment, install WordPress, and set everything up automatically. Once the process is complete, you should see your new site listed in the LocalWP dashboard.
Access site overview: Click on the site name in the LocalWP dashboard to access the site overview. Here, you can find details like the site's URL and the WordPress admin URL.
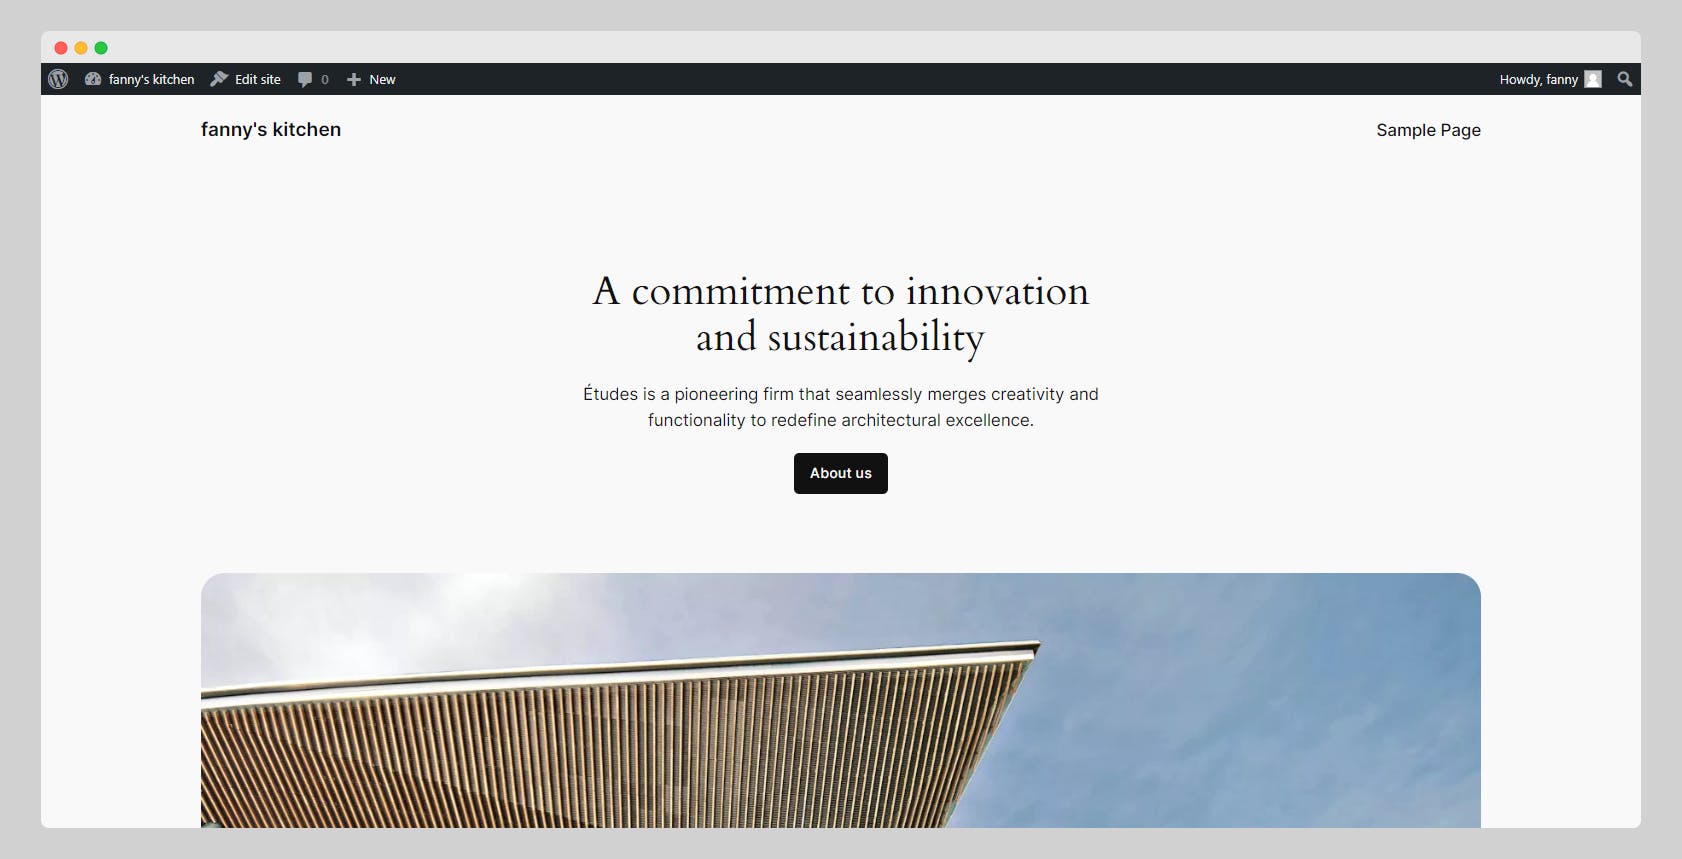
Open site: To view your site, click on the "Open Site" button or the local URL provided. This will open your default web browser and take you to the homepage of your new WordPress site.
Access WordPress admin: To access the backend of your WordPress site (the WordPress dashboard), click on the "Admin" button in LocalWP or navigate to the WordPress admin URL (typically
http://yoursitename.local/wp-admin). Log in using the username and password you set up during the site creation process.
Step 6: Start Developing Your Site
Customize your site: Once logged into the WordPress dashboard, you can start customizing your site by choosing themes, adding plugins, creating pages, and adjusting settings.
Develop locally: With your local WordPress site running, you can develop and test your site in a safe environment without affecting a live site. You can work on themes, plugins, and custom code.
Step 7: Manage Your Local Sites
Start/stop site services: Within LocalWP, you can start and stop the services for each site individually. This allows you to free up system resources when you're not working on a particular site.
Clone sites: If you want to create a copy of your site to test changes, you can use the "Clone" feature in LocalWP to make an exact duplicate of your site.
Export and import sites: LocalWP allows you to export your local site as a ZIP file, which can be imported back into LocalWP on the same or a different machine. This is useful for backups or for transferring your site to another developer.
Watch Video Tutorial
Step 8: Take Your Site Live (Optional)
When you're ready to take your local WordPress site live, you'll need to:
Choose a hosting provider: Select a WordPress hosting provider that meets your needs and sign up for a hosting plan.
Install WordPress on your web host: Most hosting providers offer a simple one-click WordPress installation process. Follow the instructions provided by your hosting provider to install WordPress on your live server.
Migrate your site: Once WordPress is installed on your live server, you can migrate your local site to the live server. There are plugins and tools available that can help you with this process, ensuring a smooth transition from your local environment to a live website.
Point your domain: If you have a custom domain, you'll need to update your domain's DNS settings to point to your new web host. This step ensures that visitors can access your website using your custom domain name.
Test your live site: Before announcing your site to the world, it's important to thoroughly test it on the live server to ensure everything is functioning as expected.
By following these steps, you can install WordPress via LocalWP, develop and customize your site locally, and then seamlessly transition to a live environment when you're ready to launch your website to the public.