How to Install Less CSS and Get Started with It

If you're a beginner programmer looking to improve the styling of your web pages, Less CSS might be just the thing you need. Less is a preprocessor language that makes writing CSS more efficient and organized. In this article, we'll guide you through the process of installing Less and show you how to get started with it.
Step 1: Download and Install node js
The first step is to install Less on your system. Less can be installed in two ways: via Node.js or as a standalone application. In this article, we'll be using Node.js to install Less. Here's how:
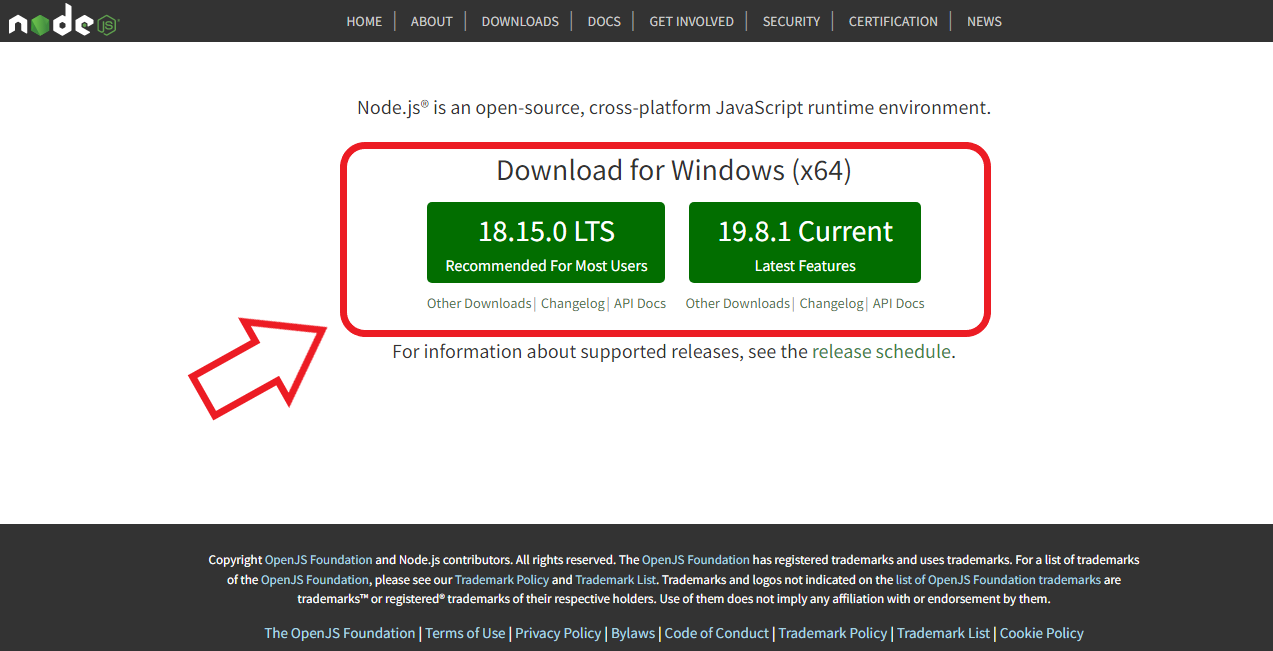
You can download node js from the official website: https://nodejs.org/ and install the .exe file.
To check if node js is installed, open command prompt or terminal and type the command:
node –version
This will show you the version of node js installed. Look at the Example below
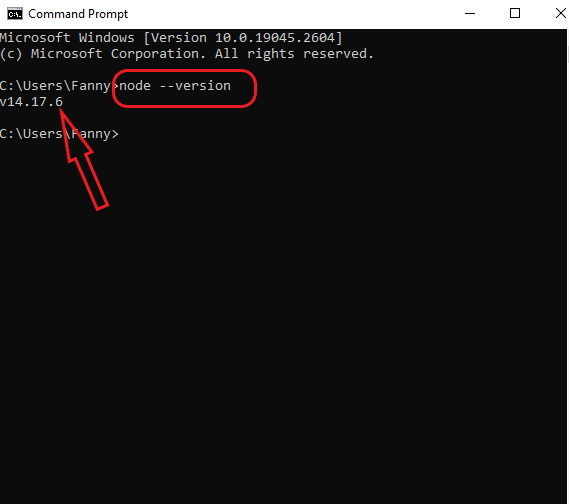
In our case, it is the node version 14.17.6
Step 2: Install Less
Now we shall install less globally via the command prompt. We shall still use the command prompt or terminal and type the following command:
npm install -g less
Press Enter and wait for the installation to complete.
Step 3: Create a Less file
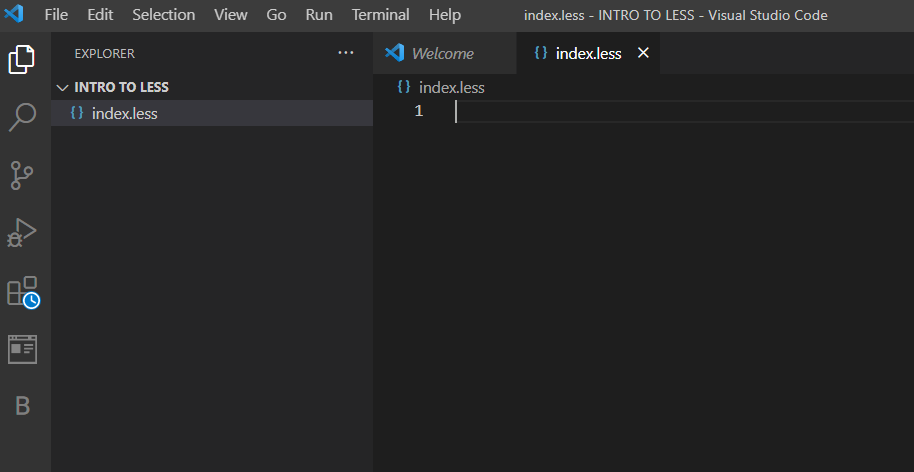
Once you've installed Less, it's time to create a Less file. A Less file has the extension .less and is similar to a CSS file, but with some added features. In this example, I created an index.less and used VS code as my code editor
Now let's add some basic Less code in our index.less file:
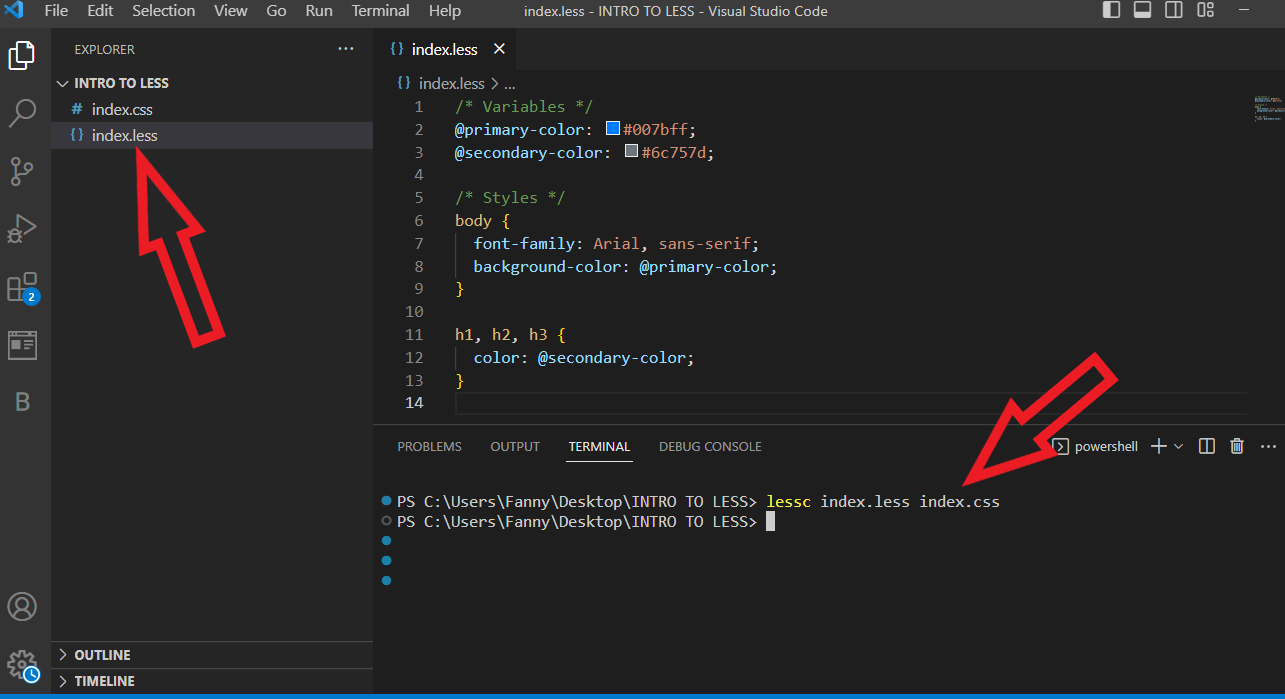
/* Variables */
@primary-color: #007bff;
@secondary-color: #6c757d;
/* Styles */
body {
  font-family: Arial, sans-serif;
  background-color: @primary-color;
}
h1, h2, h3 {
  color: @secondary-color;
}
In this example, we've defined two variables (@primary-color and @secondary-color) and used them in our styles. The @ symbol is used to define variables in Less.
Step 3: Compile the Less file
Once you've created your Less file, you need to compile it into a CSS file. This is where Less really shines, as it can automatically generate CSS code from your Less code. Here's how to compile your Less file:
Open your command prompt or terminal and navigate to the directory where your Less file is located. In this example, I will use the VS code terminal
Type the following command:
lessc index.less index.cssPress Enter and wait for the compilation to complete.
This will create a CSS file named index.css in the same directory as your Less file. As shown below
You can now link this CSS file to your HTML file to apply the styles.
Note: Replace index.less with your exact file name
Step 4: Use Less features
Less has several features that make writing CSS more efficient and organized. Here are some examples:
Variables: As we saw earlier, Less allows you to define variables that can be used throughout your styles.
Mixins: Mixins allow you to group styles together and reuse them throughout your code. Here's an example:
/* Mixin */
.border-radius(@radius: 5px) {
  border-radius: @radius;
}
/* Styles */
.box {
  background-color: #fff;
  .border-radius(10px);
}
In this example, we've defined a mixin called .border-radius that sets the border radius of an element. We can then use this mixin in our .box style to give it a border radius of 10px.
Nesting: Nesting allows you to group styles together based on their HTML structure. Here's an example:
/* Styles */
.card {
  background-color: #fff;
  padding: 10px;
  h1 {
    font-size: 24px;
  }
  p {
    color: #555;
  }
}
In this example, we've grouped our styles based on the HTML structure of a card element. The styles for the h1 and p elements are nested within the .card style.
Conclusion
Less is a powerful preprocessor that can make writing CSS more efficient and organized. By following the steps outlined in this article, you'll be able to install Less and get started with using its features right away. Give it a try and see how it can help you streamline your CSS workflow!


